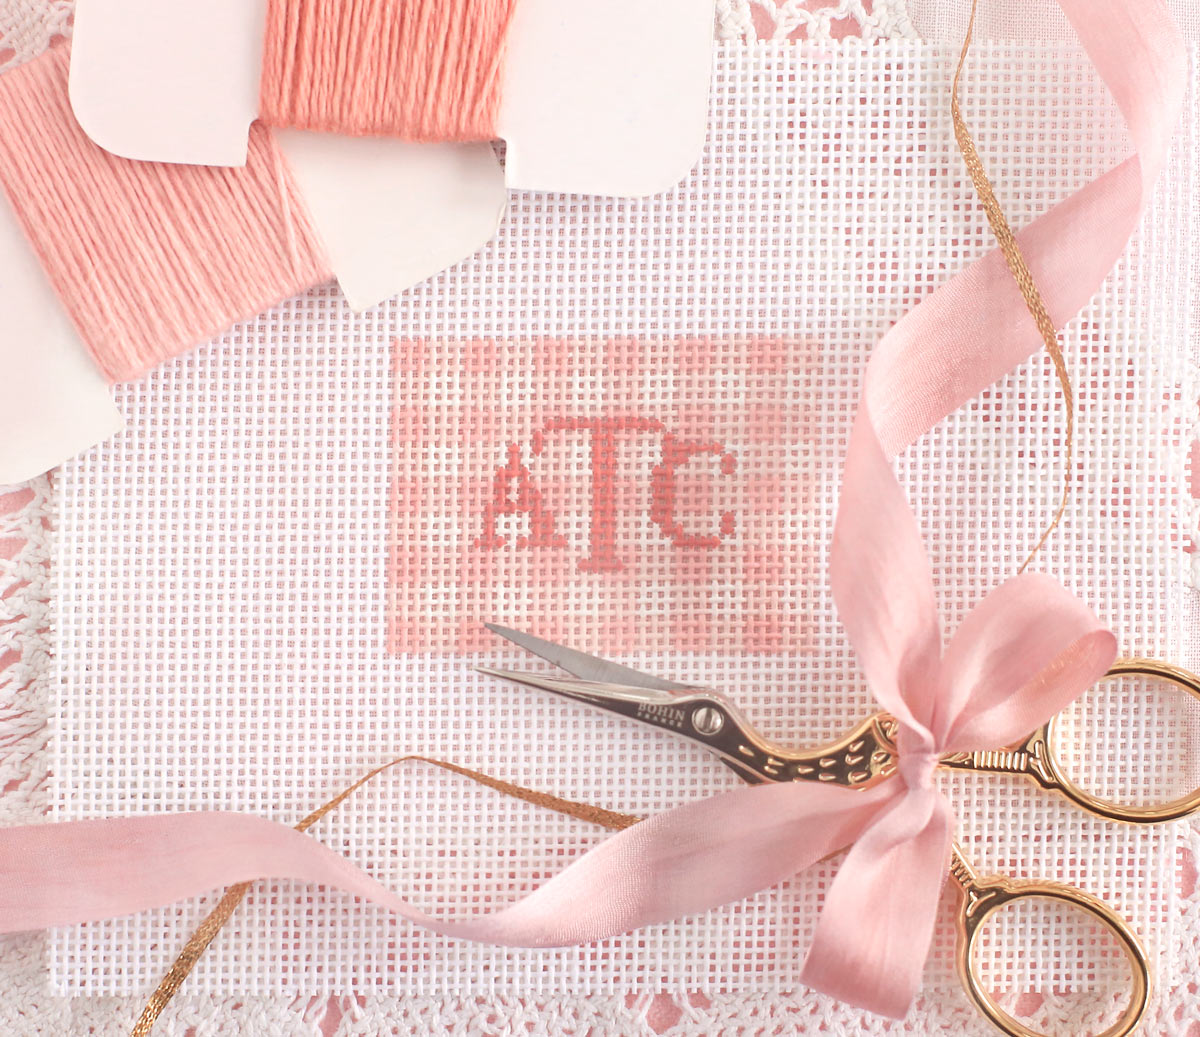
Note: Unless otherwise noted use a single strand of thread in your needle.
Detailed Photo
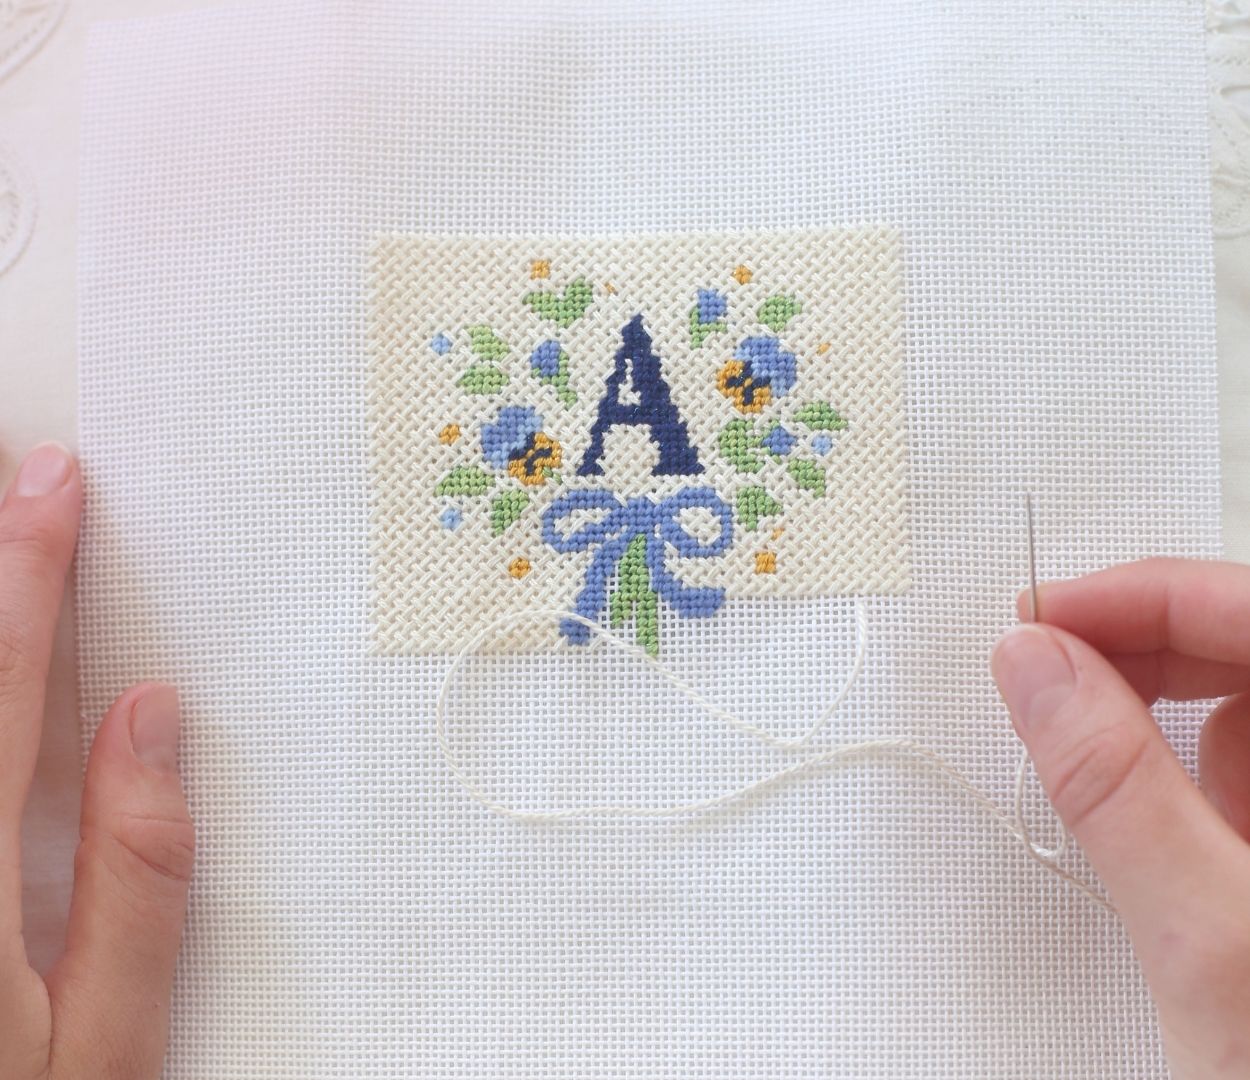
Area: Green Bow
Threads used:
Essentials Inchworm 700
Essentials Caterpillar 707
Essentials Holly 729
Stitches used:
Woven Stitch
Stitch the bow in Woven Stitch using two strands of Essentials Caterpillar 707 for the main green, two strands of Essentials Inchworm 700 for the highlights, and two strands of Essentials Holly 729 for the shadows.See compensating instructions below.
Area: Flourish Pattern
Threads used:
Pepper Pot Silk Coconut 066
Planet Earth Silk Caneel Bay 077
Stitches used:
Reverse Tent Stitch
Tent Stitch
Satin Stitch
Single Mosaic Stitch
Reverse Single Mosaic Stitch
Rhodes Stitch (Substitute Cross Stitch 1 over 1 - see compensation notes)
Stitch the flourish's middle section in Satin Stitch using Planet Earth Silk Caneel Bay 077. Angle the Satin Stitch from bottom left to top right. Stitch the flourish's right side in Single Mosaic Stitch and Tent Stitch using Planet Earth Silk Caneel Bay 077. Stitch the flourish's left side in Reverse Single Mosaic Stitch and Reverse Tent Stitch using Planet Earth Silk Caneel Bay 077. Stitch the flourish outline in Tent Stitch using Pepper Pot Silk Coconut 066. Stitch the flourish dot in Rhodes Stitch using Pepper Pot Silk Coconut 066.
Area: Background
Threads used:
Pepper Pot Silk Curacao 106
Planet Earth Wool Cuddle 014
Stitches used:
Tent Stitch
Rhodes Stitch
Stitch the pink dots in Rhodes Stitch using Planet Earth Wool Cuddle 014. Stitch the background in Tent Stitch using Pepper Pot Silk Curacao 106.
When compensating Satin Stitch simply end the stitch short at the color edge (if the area is small enough the Satin Stitch may turn into a Tent Stitch).
Rhodes Stitch
When compensating Rhodes Stitch, do your best to mimic the overlap and angle of the full Rhodes Stitch. Make sure you’re working the overlap in as similar an order as possible. If you’re not sure what the angle should be: place your needle in the hole where the full stitch would go if you weren’t compensating. Then, keeping the angle of the stitch (to the best of your ability) back up the needle to the edge of the area. If the area is only one to two intersections, substitute the Rhodes Stitch for a Cross Stitch 1 over 1.
Woven Stitch
I love Woven Stitch for its ease of compensating! If you can’t take a full stitch, you will simply be compensating with a Tent Stitch (or Reverse Tent depending on the angle of the Woven Stitch you're compensating). Where the bow ribbon overlaps, end the stitch short (and compensate) to help define the edge. However, where the ribbon changes colors without meeting an edge (such as the highlight on the knot) do not compensate. Simply take a full stitch, fitting it within the color area to the best of your ability.
Stitch Diagrams
Tip: for those of you who caught it - I did mess up the cross over on my little Rhodes Stitches! :) Follow the diagram, not the photo.
Stitch Videos
Subscribe
Sign up to get the latest on sales, new releases and more …
Get Your Free Guide To Choosing Stitches
Stay in the know with new product drops, online classes, tips and tricks, and receive your FREE Guide To Choosing Your Needlepoint Stitches